
How To Sharpen Clipper Blades Comprehensive Guide!
Just like any other machine like your vehicle, once you fail to maintain your clipper, you will definitely not reap the full benefit of owing it. Frustrations are intensified when your clippers are not properly sharpened and maintained prior to use.
Just like other equipment, the use of hair clippers over time causes wear of its blade surface. The heat induced due to friction and vibration is a stimulant of machine wearing, as such the coefficient of performance of the clipper’s blades tarnishes.
While trying to make a swift cut, the razor may jerk the hair thereby inducing extreme pain to you.
This occurrence of wear, jerking and pulling are strong indications that your clipper’s blades ought to be changed or sharpened for it to yield cumulatively and astronomically.
This guide is an all-encompassing package that will teach you the ins and outs of sharpening your hair clipper.
How And When Do I Figure Out That My Clipper Blades Need Sharpening?
Figuring out the potency of the blades of your hair clippers is imperative. How do you know when the blades of your clipper need to be sharpened?
This is a question, which should dance within the rational mind of any owner and user of clipper. Once your clipper begins to shave or cut haphazardly, or start to jerk or tug rather than cutting, it becomes imperative that you sharpen you blades to heighten output.
Another good indication that you need to sharpen the blades is if your clippers are pulling the hairs rather than cutting them. You will notice this right away, because it can be rather painful.
Frequently clean your blades to keep it rust-free. The end will really justify your painstaking care of your clipper
By the use of your screwdriver, carefully open and remove the blades, clean properly and replace likewise. Sometimes, the blade may not be easily separated or removed from the base, but you must have to utilize your screws skillfully, try to open or widen the compartment with maximum but skillful leverage.
Meticulously replace the disassembled parts. Your clipper will be bark with full morale.
As soon as the blades starts to rust, you have to disassemble from base, use alcohol and water to for the job of quickening the blades to the desired state. Assemble with care as soon as the blades are normal.
You can also remove any hair rubble as soon as you successfully detached your blades. By so doing, the sharpening will be favored.
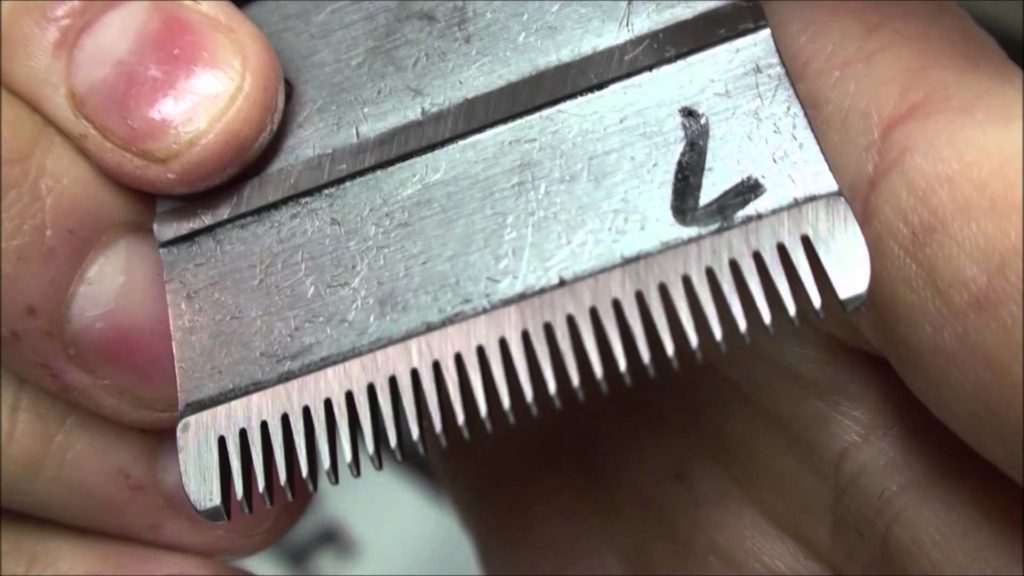
Always ascertain your blades efficiency: Sharpen with sharpening stones
If you really want to get the best output out of your shaving and grooving tool, it is vital that you begin to think of the best for it.
You comfortable, elegant and proficient appearance is a function of the sharpness of your clipper blades and the degree of your experience in handling your clipper.
Apart from shelf-sharpening blades which do not require sharpening by the user, you have to ensure you ascertain need of sharpening your blades at any point in time.
As you progressively use your clipper, it is prudent to know at what point sharpening becomes critical. This will do a lot of good as the coefficient of performance of the blade.
As soon as you fulfill the sharpening quest of the blades, tugging, jerking or pulling of hair will be far from the clipper.
You may wish to sharpen your blades using a sharpening stone. As the sharpening progresses, always remember that your target is to restore the blades to normalcy; therefore, upon getting a uniform, neat and shiny surface, you are on the right track. As that stage, you can stop the sharpening and couple the components back.
Diamond sharpening stone can be used in filling ceramic blades. You will also have to know the best sharpening stone perfect for any kind of blades.
Stones have been used for centuries to sharpen all different types of blades. However, over the years, great improvements have been made to these stones in order to make them more effective.
Another potent sharpening stone is the Oilstone. Compared to most sharpening stones, it produces virtually the best surface finish for your blades.
Being certain of the compatibility of the oilstone with the blades, by just bumping and rubbing with the stone, you alert the sharpness of your blade to necessary limit.
Related Post:
How To Shave Your Neck With An Electric Razor ! Complete Guide 2017
What Next Having Completed the Cleaning Process?
Now that I am through cleaning my clipper, what next? This is a very important question that should follow once the cleaning is done.
Locate your lubricating oil and lubricate the machine. Carefully couple back your machine. It is not a bad idea however, to use a spray lubricant after the whole reassembling process.
By and large, for whatsoever approach the lubricant is applied, it is just aimed at maximizing the output of the clipper.
You can test run the clippers as soon as it is properly tightened and ensuring that there are no loose components. You can now utilize your clipper to achieve the desired shave and cut you wish.
Note also:
Whether you did the sharpening yourself or you found someone who did it for you, just understand that your clipper is back with full force to give a neat, smooth and smart cut.
The issues of jerking and tugging are no more. Therefore, you must not necessarily buy all the sharpening and cleaning ancillaries before addressing your clipper rightly.
Of course, at least once in a while, you can contact your producers to aid in sharpening your clipper o at least providing you with shipping directives and the necessary price labels.
By so doing, they will attend to your request just to make sure you have your desired and deserved comfort and stress-free hair shaving and cutting experience.
Your clipper is a pretty handy equipment for your personal decoration and cleanliness. Any amount committed to making it workable will yield astronomically!